Plastic outdoor lighting has been rising in popularity for OEM manufacturers looking to build durable, lightweight, and cost-effective exterior fixtures at scale. But what exactly are the benefits, and how do lighting manufacturers achieve them with precision engineered toolings?
In this guide, we at Moldie will cover every critical factor, from proper resin selection and Design for Manufacturing (DFM) to how we overcome injection molding challenges for optical-grade components.
Why Engineering Plastics are Replacing Metal in Outdoor Fixtures
Engineering plastics such as polycarbonate, ABS, and glass-filled nylon are steadily displacing die-cast aluminum and sheet steel in outdoor luminaire housings, lenses, and reflectors.
Corrosion Resistance in Coastal and Harsh Environments
Metal outdoor fixtures in coastal zones, chemical plants, and high-humidity regions require expensive protective coatings such as powder coating, anodizing, or hot-dip galvanization. What’s more, these finishes can also erode due to salt spray and acidic atmospheres.
Engineering plastics are inherently immune to galvanic and electrochemical corrosion. A polycarbonate or ASA housing will pass thousands of hours of salt spray testing (ASTM B117) without any surface degradation. This eliminates the need for secondary finishing operations and dramatically reduces warranty claims in harsh environments.
Significant Weight Reduction and Assembly Simplification
A polycarbonate housing typically weighs 40 to 50 percent less than an equivalent die-cast aluminum part. This weight reduction simplifies mounting hardware, lowers shipping costs, and makes installation faster for large-scale commercial or municipal rollouts.
Lighter assemblies also allow thinner support brackets and fewer fasteners. Snap-fit designs molded directly into plastic parts can replace screws entirely, reducing assembly labor on the production line.
Cost-Effectiveness in High-Volume Production
Injection molding amortizes tooling costs across tens or hundreds of thousands of units. Once the mold is built, the per-part cost of a plastic housing drops well below that of a die-cast or stamped metal equivalent.
| Factor | Die-Cast Aluminum | Injection-Molded Plastic |
|---|---|---|
| Tooling lead time | 8 to 14 weeks | 4 to 8 weeks |
| Secondary finishing | Required (coating, anodizing) | Often unnecessary |
| Cycle time per part | 45 to 90 seconds | 15 to 45 seconds |
[The actual data will be determined by the details in mold designs or product requirements.]
These economics make plastic the clear winner for high-volume outdoor lighting programs where unit cost targets are aggressive.
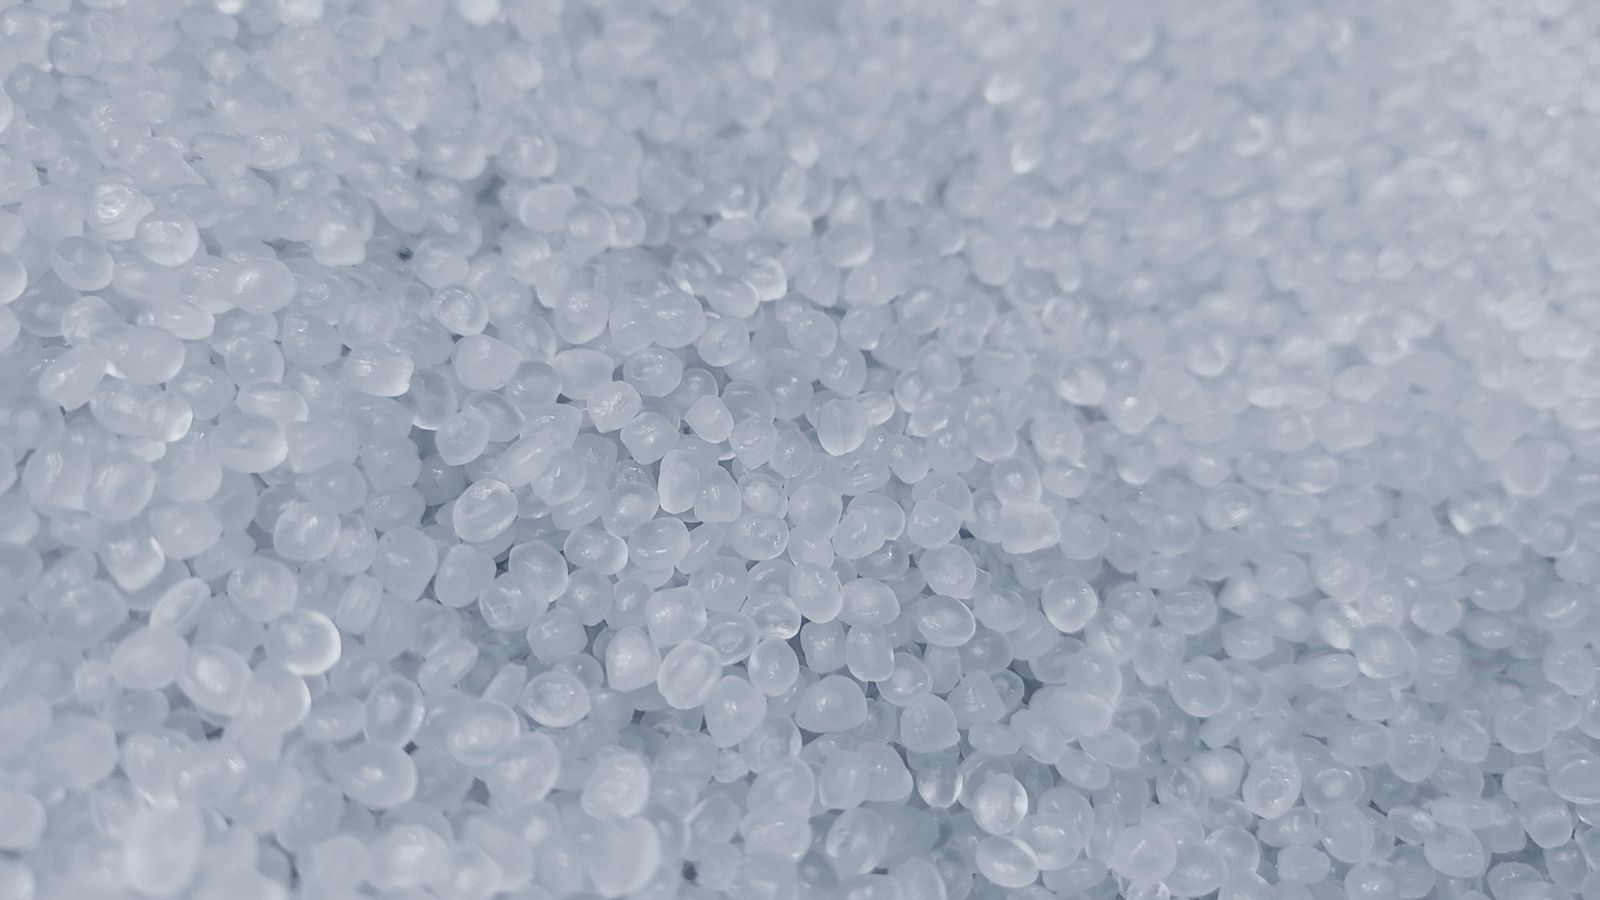
Selecting the Right Resins for Extreme Outdoor Conditions
Choosing the correct polymer is the single most important engineering decision in a plastic outdoor lighting project. Using our past experience in outdoor lighting parts and mold manufacturing, we summarized some of the main materials in this specialized field.
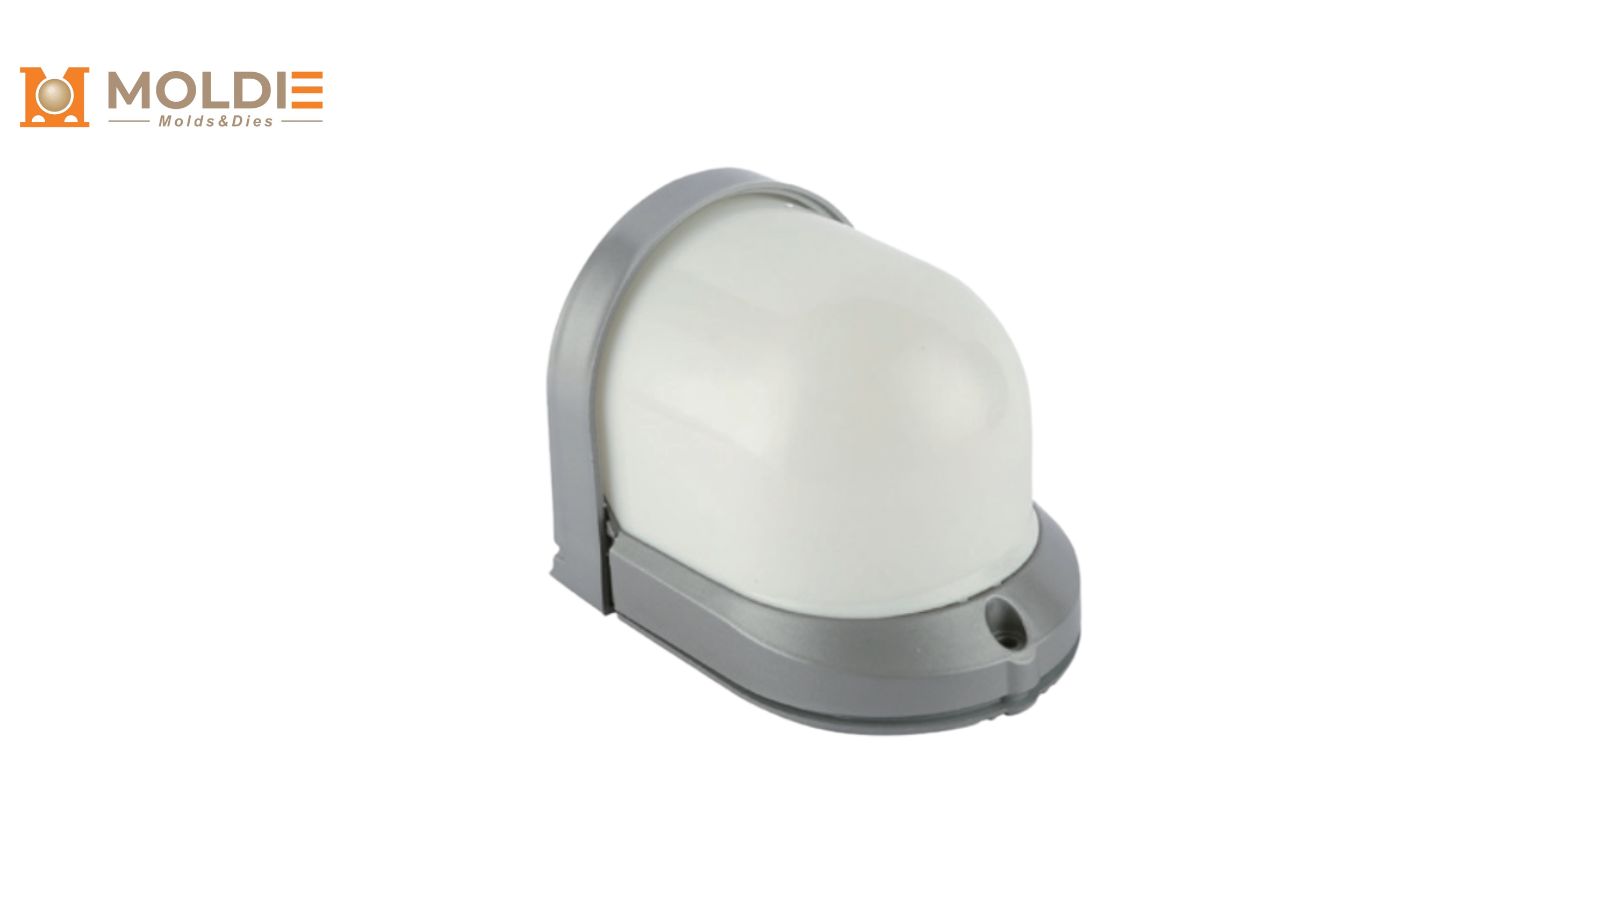
UV-Stabilized Polycarbonate (PC) for Shatterproof Lenses
Polycarbonate offers roughly 250 times the impact resistance of glass, making it the default material for vandal-resistant lenses and covers.
When compounded with UV stabilizers such as benzotriazole or HALS (hindered amine light stabilizers), PC maintains its mechanical properties and transparency through years of direct sun exposure.
PC is well suited for floodlight lenses, bollard diffusers, and wall pack covers where impact events are a real risk.
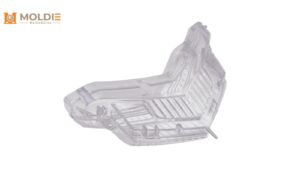
PMMA (Acrylic) for Long-Term Optical Clarity Without Yellowing
Polymethyl methacrylate delivers 92% light transmission, the highest of any common thermoplastic. It resists yellowing far better than polycarbonate under prolonged UV exposure, making it an excellent choice for decorative luminaires and architectural fixtures where appearance matters.
However, there is a trade-off: its impact resistance is lower compared to PC. PMMA lenses work best in protected applications or where a secondary polycarbonate shield can absorb mechanical loads. Its optical clarity also makes it ideal for precision refractor lenses that shape beam patterns.
Thermally Conductive Plastics for LED Heat Dissipation
Standard plastics act as thermal insulators, which creates problems when high-power LEDs generate heat that must be managed. Thermally conductive polymer compounds, filled with ceramic or graphite particles, offer thermal conductivity values of 1 to 20 W/mK. That is far below copper or aluminum but sufficient for many mid-power LED modules.
These compounds allow engineers to integrate heat-sink features directly into the molded housing, which replaces a separate aluminum heat sink and a plastic enclosure, cutting both BOM cost and assembly time.
Injection Molding DFM Strategies for IP65+ Ratings
Achieving IP65 or higher ingress protection in an injection-molded fixture requires careful attention to parting lines, sealing surfaces, and dimensional tolerances. DFM review at the mold design stage prevents costly rework later.
Designing Snap-Fits and Gasket Grooves
Snap-fit features must be designed with adequate draft angles (typically 1 to 2 degrees per side) and deflection limits that stay within the elastic range of the chosen resin. Over-stressed snap arms will creep or crack in the field, breaking the seal.
Gasket grooves should follow these guidelines:
- Groove depth set to compress the O-ring or gasket by 20 to 30%
- Groove width slightly wider than the uncompressed gasket cross-section
- Continuous, uninterrupted groove path with radiused corners to avoid pinching
Placing the gasket groove on the same mold half as the sealing surface ensures tighter tolerances and a more consistent seal.
Managing Wall Thickness to Prevent Sink Marks and Warpage
Uniform wall thickness is critical for both cosmetic quality and structural integrity. Thick sections cool slower than thin ones, creating internal stresses that cause sink marks on visible surfaces and warpage across flat panels.
Best practice is to keep nominal wall thickness between 2.0 and 3.0 mm for most outdoor lighting housings. Where added stiffness is needed, use ribs at 50 to 60% of the nominal wall thickness rather than increasing the wall itself.
Gradual transitions between thick and thin sections, with a ratio no greater than 3:1, help maintain consistent melt flow and reduce molded-in stress.
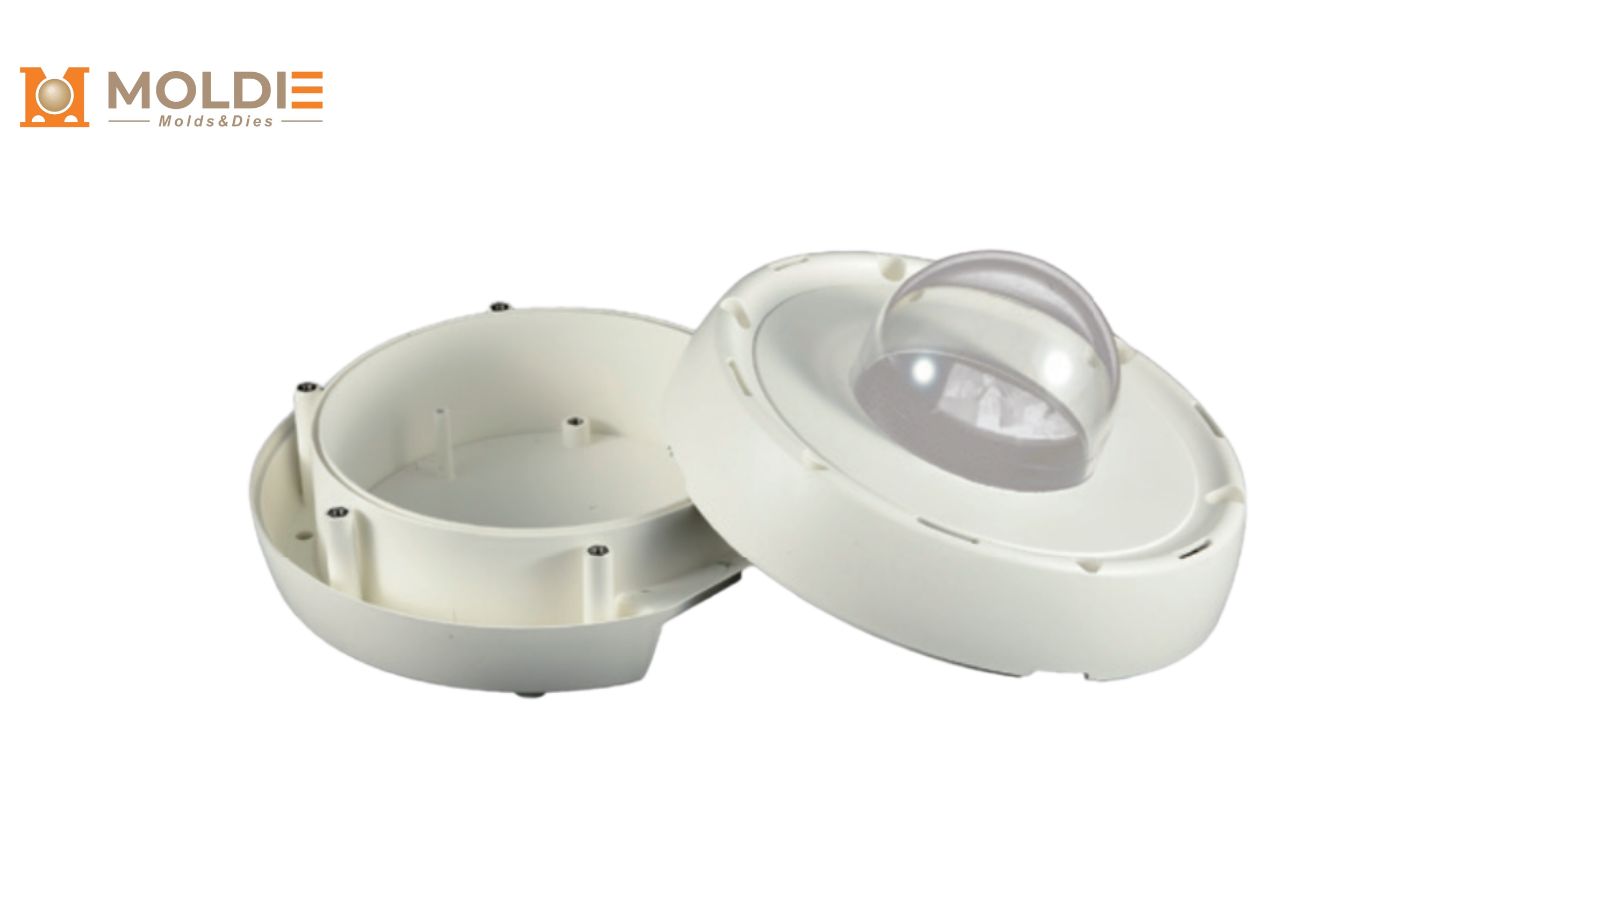
Overmolding and Insert Molding for Seamless Sealing
Overmolding
It attaches a soft TPE (thermoplastic elastomer) gasket directly onto a rigid PC or ABS housing, eliminating the need for a separate gasket and its associated assembly step. The chemical bond between the TPE and substrate creates a seal that cannot shift or fall out during handling.
Insert molding
Insert molding is equally valuable for embedding brass threaded inserts, electrical terminals, or cable glands directly into the plastic part. This approach produces a sealed, monolithic component that simplifies final assembly and improves long-term IP performance.
Overcoming Injection Molding Challenges for Optical Components
Optical parts such as lenses, refractors, and diffusers demand tighter process control than standard structural components. Even small defects can scatter light, reduce transmission, or create visible artifacts in the beam pattern.
Controlling Mold Temperature to Eliminate Birefringence
Birefringence occurs when internal stresses cause different refractive indices in different directions within the molded part. It shows up as rainbow-colored patterns under polarized light and degrades optical uniformity.
The primary fix is a high and uniform mold temperature. For polycarbonate lenses, mold surface temperatures of 80 to 120°C are typical. This slows the cooling rate, allowing polymer chains to relax and reducing residual stress. Using conformal cooling channels in the mold steel further improves temperature uniformity across the cavity.
Achieving High-Gloss SPI Finishes for Maximum Light Transmission
The Society of the Plastics Industry (SPI) finish classification system defines surface quality. Optical components require SPI A-1 or A-2 finishes, which are achieved by diamond polishing the mold cavity steel.
Key considerations for high-gloss optical molds:
- Use hardened mold steels such as S136 or NAK80 that accept and hold a mirror polish
- Specify a surface roughness of Ra 0.01 to 0.05 µm on optical surfaces
- Maintain mold surfaces with regular re-polishing to prevent micro-scratching over production runs
Any surface imperfection on the mold will transfer directly to the molded lens, reducing light transmission and creating scattering defects.
Effective Venting to Prevent Burn Marks
Burn marks, also called diesel marks, appear when trapped air in the mold cavity compresses and ignites during injection. On a clear lens, even a faint burn mark is a rejection-worthy defect.
Proper venting requires thin vent slots (0.02 to 0.04 mm deep for PC) machined at the last points of fill. Vacuum-assisted molding is another option for complex lens geometries where passive venting is insufficient. Mold flow simulation software can predict air-trap locations during the design phase, allowing engineers to position vents proactively rather than reactively.
Partnering with Moldie for Your Outdoor Lighting Projects
Turning a fixture design into a mass-produced product requires a specialized molding partner. Moldie provides end-to-end mold and component manufacturing for optical and structural plastics, offering:
- Prototyping & Tooling Manufacturing: From CNC-machined prototypes to hardened P20/H13 steel multi-cavity production molds, you can directly purchase tooling from us.
- Scalable Production: Seamlessly scale from pilot runs to high-volume manufacturing (hundreds of thousands of units).
- Strict Quality Control: CMM dimensional verification for IP65+ seals, optical testing for lenses, and support for UL/IEC compliance.
Ready to move from concept to production? Visiting Moldie is your first step toward building a reliable, market-ready fixture.

